Signature Sourdough Boule Recipe

This is the recipe I follow to make my own sourdough bread. It came about through a lot of trial and error, as well as experimenting with various amounts of water and flours, so I'd recommend using this as a starting point to create your own recipe!
Equipment
- A banneton or bread basket: a rounded, wicker basket that is used when fermenting and shaping the dough in the fridge overnight. An actual banneton isn't strictly required, although it gives the bread a really pretty circle pattern on the top. You can substitute for a colander with a tea towel placed inside it, coated liberally with plain flour.
- A lame or gringette: essentially a curved razor blade on a stick. Used for slashing the the top of the dough right before it goes into the oven to bake. Again, this isn't strictly required, you can do the job with a very sharp knife or a (clean!!) double edged razor blade. But a proper baker's lame will make the job a lot easier.
- Baking pot or bread cloche: some kind of ceramic or cast iron pot with a lid you can fit your dough in and can be baked in the oven. The lid essentially traps in the steam escaping from the dough, which leads to a wonderfully crusty loaf. This again isn't strictly required, and there are alternative ways of generating steam. More on this in the recipe.
- Bench or dough scraper: thin piece of plastic or metal that can be used to scrape, pick up and cut up your dough. Not at all required but it makes things a lot easier when it comes to shaping and manipulating dough!
- Stand mixer: sometimes mixing dough ingredients is a lot of effort and quite messy, so if you have one, it's always worth giving it a try. It's also great if you have joint or muscle problems that make mixing dough difficult. This recipe involves no kneading too which helps.
Ingredients
- 250g wholemeal bread flour
- 150g white bread flour
- 100g wholemeal rye flour
- 300ml water
- 100g fed, active sourdough starter
- 1tsp salt
- Semolina
Method
- Mix all the flours and salt into your mixing bowl, and add the 300ml of water. Mix by hand or using a stand mixer until it forms a reasonably smooth dough. Add a little extra water if necessary to help the dough form.
- Cover with a damp cloth and leave for anywhere between 30 minutes and 2 hours to allow for autolysing (where the gluten structure starts forming in the dough). This will help develop a wonderful, open, crumb later on.
- Press holes into the top of the dough, and add all of the sourdough starter on top. Leave for 5-10 minutes to allow the starter to begin sinking into the dough, then gently begin folding the dough over into the starter to mix it together.
- Now begins the "stretch and fold" process. Take the dough, stretch it out in one direction, then fold it over itself. Repeat three more times on all sides of the dough. Then cover the bowl and leave it for 30 minutes.
- Repeat this process three more times, each time waiting 30 minutes between each series of folds. Each time you come back to the dough it should begin to be a lot firmer, smoother, and coherent.
- Turn the dough onto a lightly floured surface to shape. Stretch each side out and fold into the middle of the dough, similar to before, but doing so the bottom of the dough should become a nice, smooth, rounded surface. You can use a little bit of flour to "seal" the seams together.
- Turn the dough over and use your hands, and optionally your dough scraper, to tighten and further round out the "boule" shape.
- Dust your banneton or cloth-covered colanader with flour, then gently place your dough in, making sure the seam side is facing up.
- Put your bread container into the fridge overnight, for anywhere between 12 and 24 hours. The longer you leave it in, the more sour and fermented the flour will be. I normally just leave the dough overnight to bake in the morning.
- Preheat your oven to 220 ºC with the pot or cloche you're baking your bread in (if you're using one), or a baking tray.
- Once the oven is at temperature, you can remove the cloche or tray. Dust with a light coating of semolina. Take your dough out of the fridge, gently remove it from your container, and then gently place it into your cloche or onto your tray.
- Take your lame or sharp knife and make a single, uninterrupted slash across the dough. This will help air release from the bread as it bakes and helps it shape better.
- Now place your cloche or tray into the oven. If you are not using a cloche or pot, you can still achieve a nice crusty bread by either using the broiler functionality on your oven, or by taking a baking dish and filling it with some water and putting it into the oven with the tray.
- Bake for about 50 minutes, then reduce the temperate to 180 ºC and remove the lid of your cloche or pot, if you are using one.
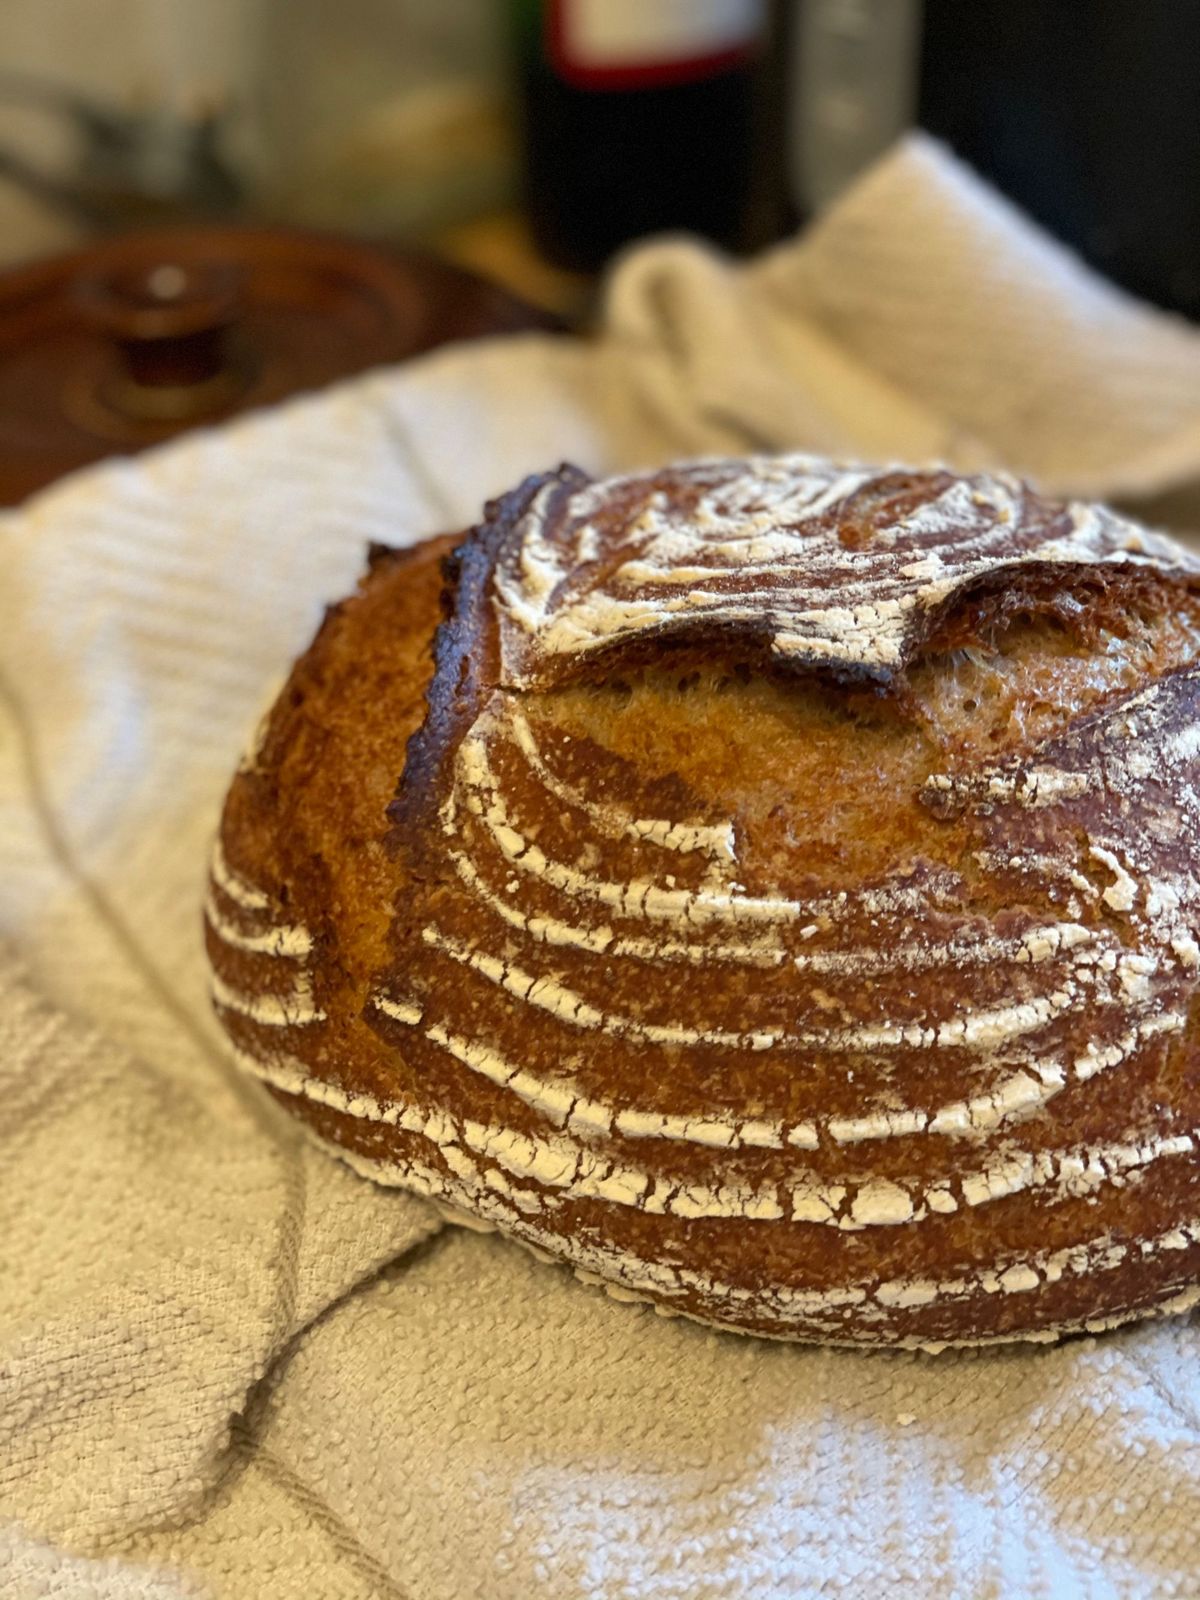
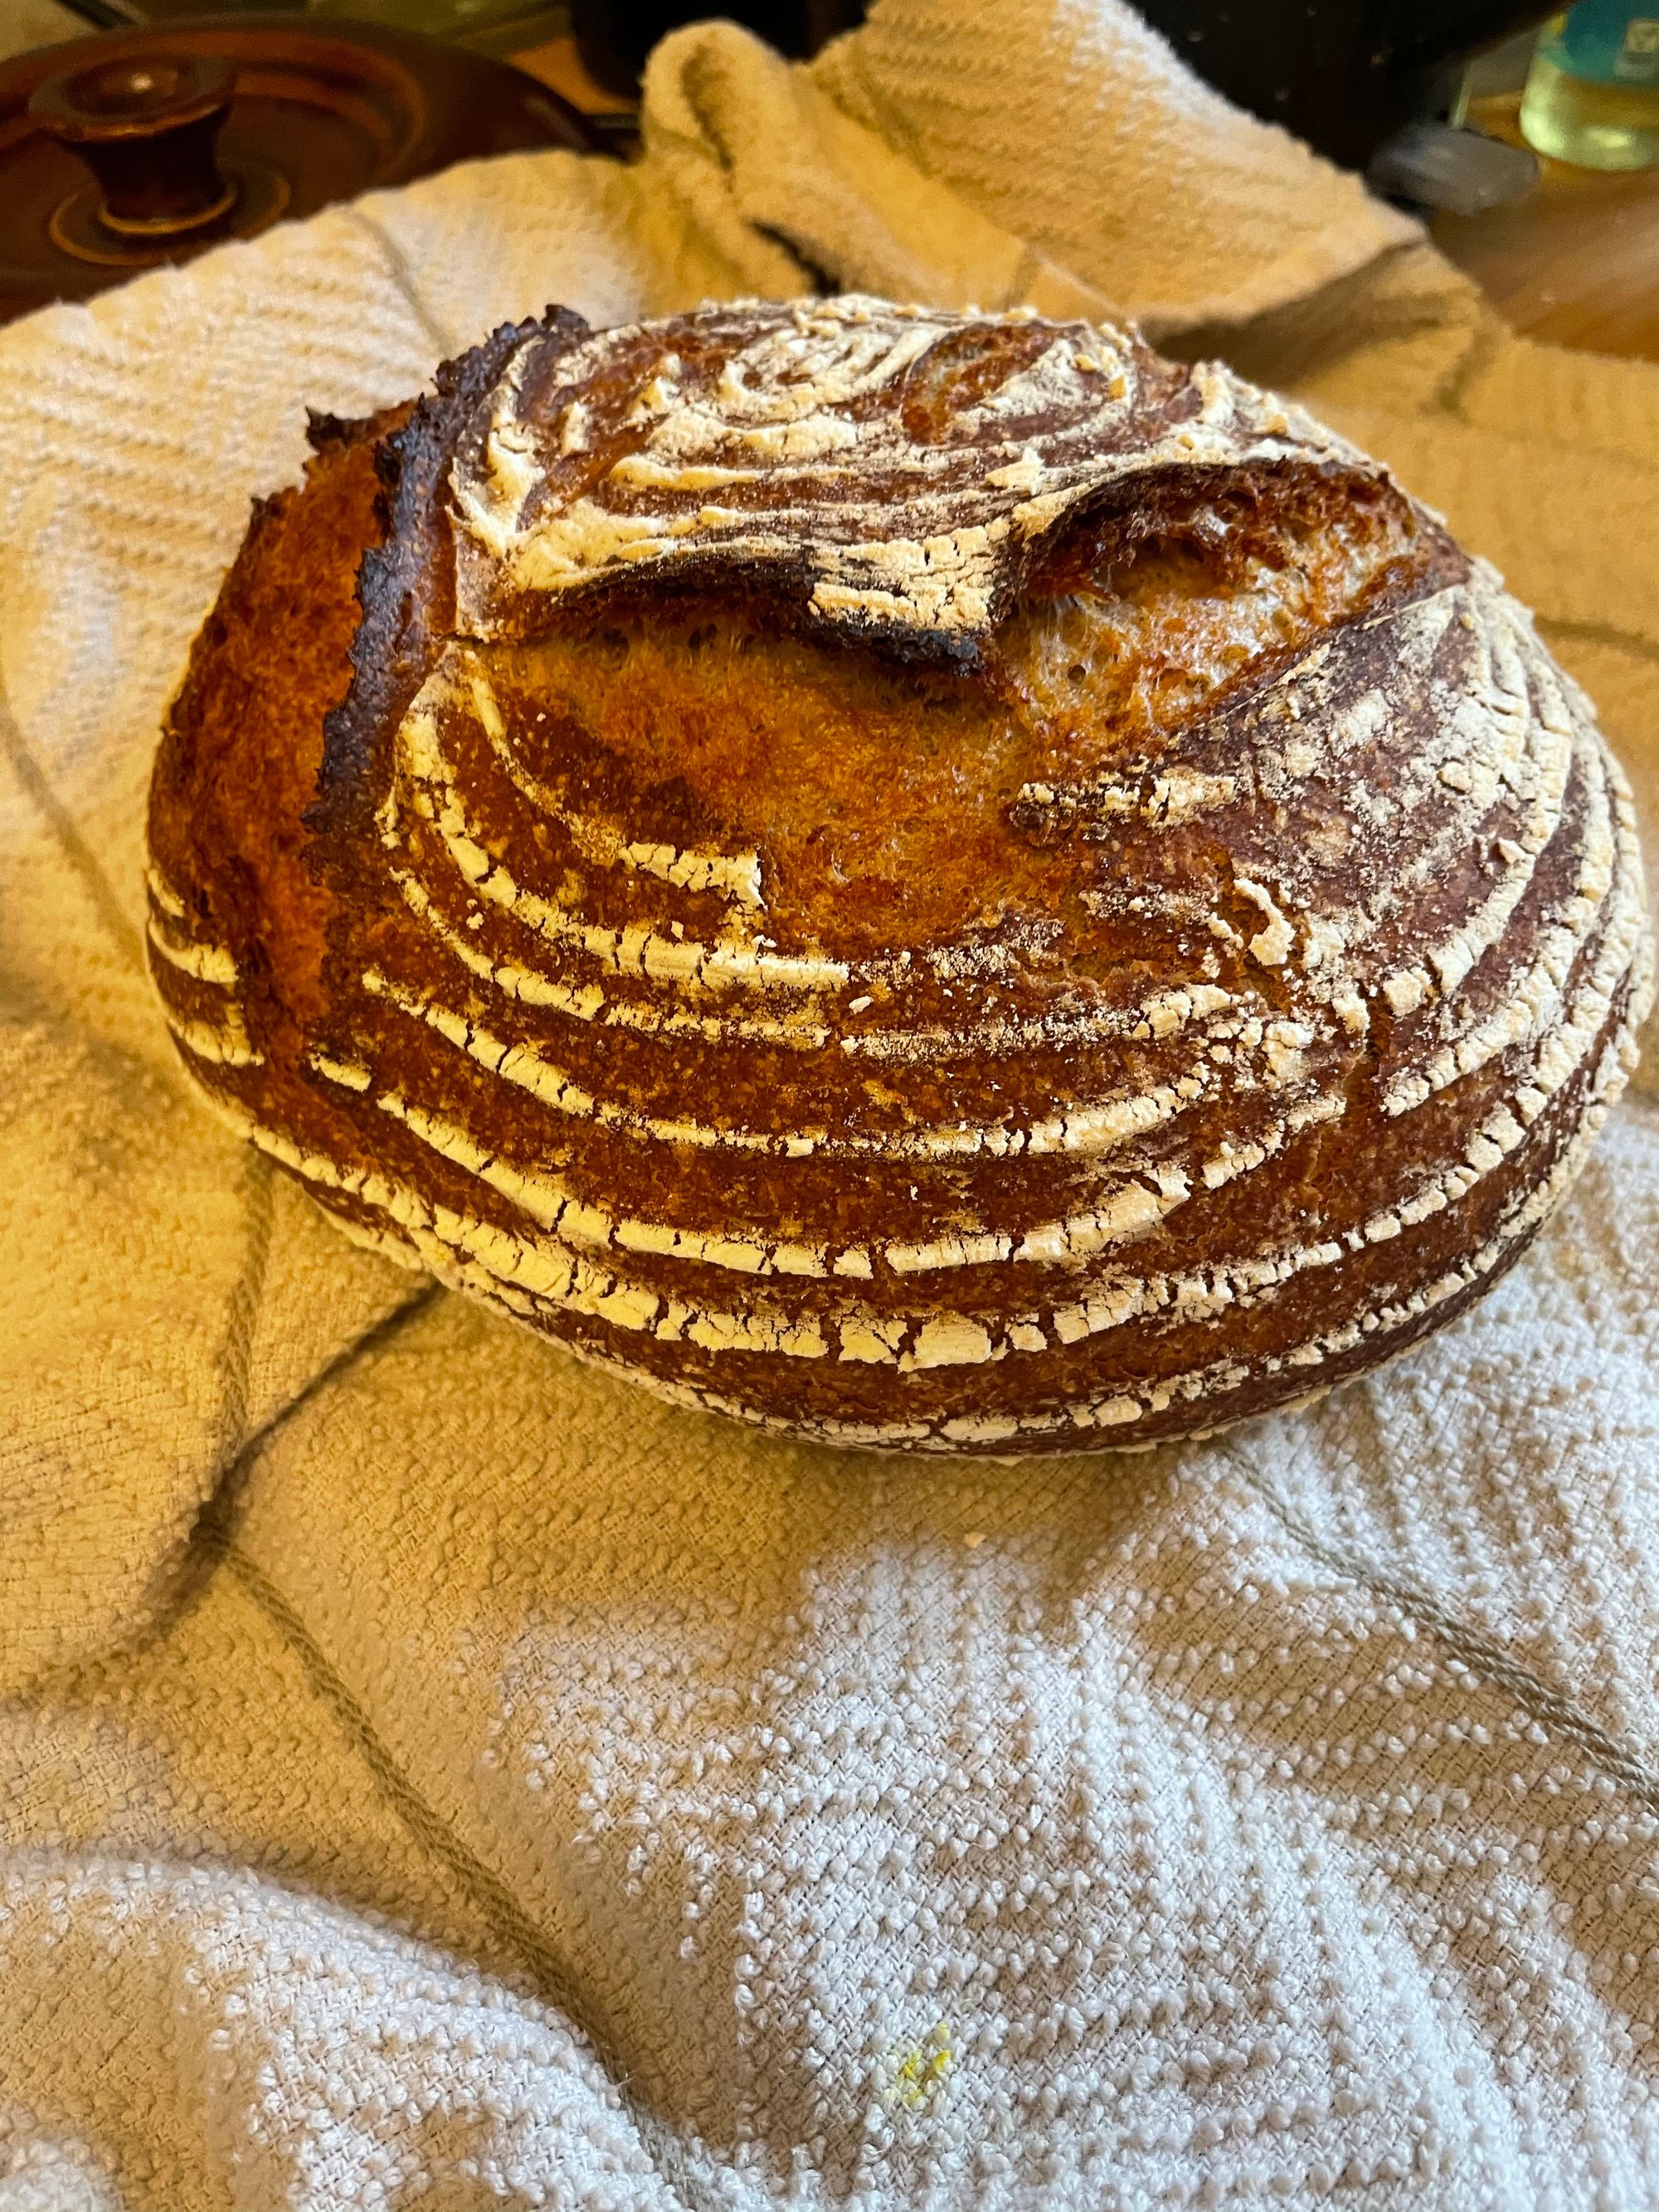
- Bake for about 10 more minutes, then remove from the oven. Remove your bread from the pot or tray and place onto a wire rack to cool. Marvel and take some pictures of your pretty loaf! And then, you should wrap it in a slightly dampened tea cloth to stop it from becoming too crusty that you can't slice it!
Things to experiment with
- Types of flour used: using more rye flour will result in a tighter, grainier dough. Rye sourdough is really delicious and worth trying out! Alternatively, you could try seeing what happens if you use more white flour in your dough.
- Hydration: the more percentage of water you use, the wetter the dough and the more open the crumb should be. Reducing hydration will give you a tighter crumb but you'll probably need to bake it less.
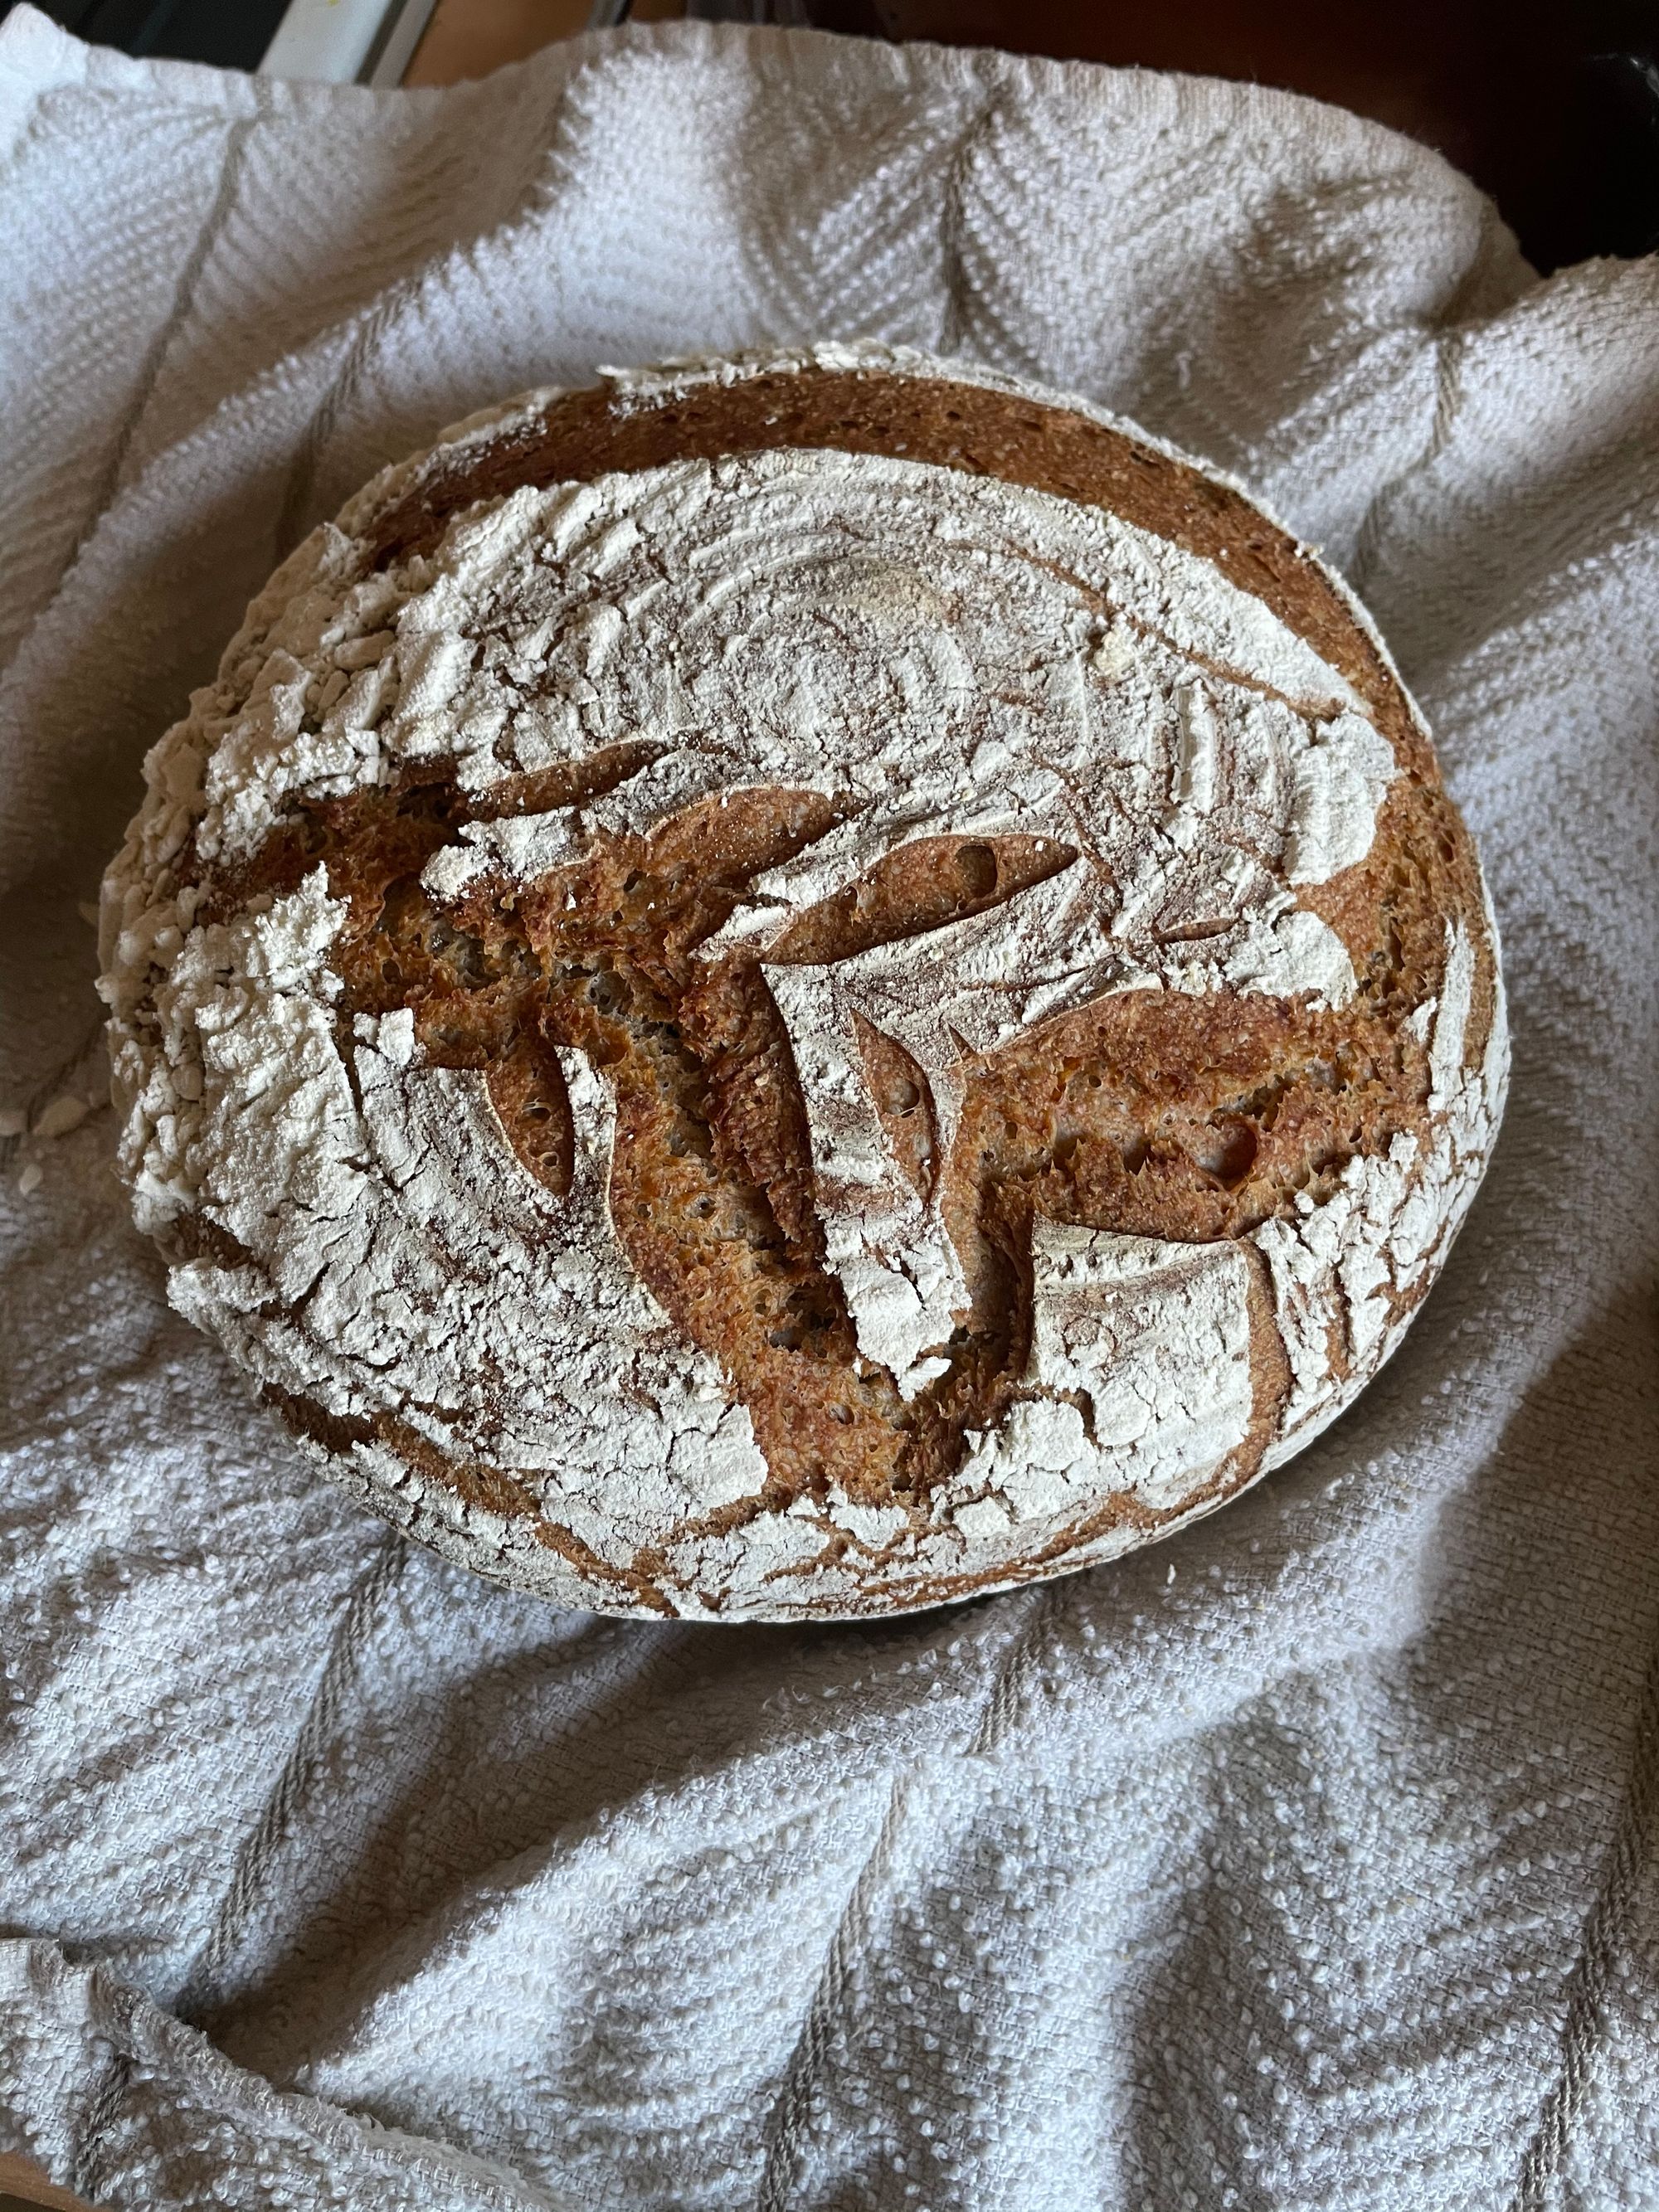
- Scoring patterns: think of it as your signature! Experiment with interesting and fun patterns.